While it's taken over two years, I'm finally near the end of the second phase upgrades. After a long search, I found a used, running 1988 Ford F-350 4WDD truck to use as a donor for the whole drivetrain. While the blown 351W H.O. was out, I took the entire frame down to bare metal and sprayed it with primere and Dupli-Color bedliner. The "frame-on" restore was done by lifting one side of the body at a time, and placing wood blocks underneath for safety. This took about four months of weekends in the winter of 2006:
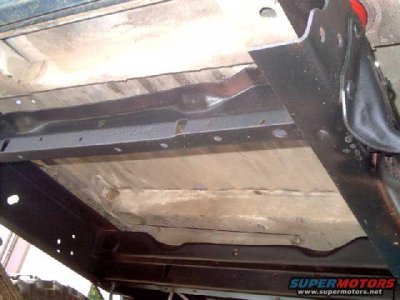
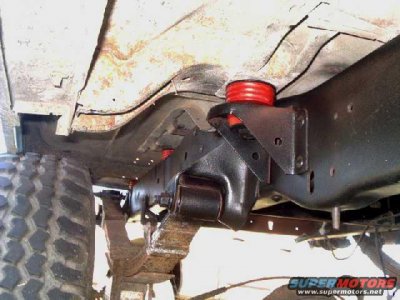
After removing the gas tank, exhaust, trans, t-case, and axles, I began the install of the 1-ton parts beginning with the Sterling 10.25" rear. Using the F-350 hangers, I flipped the shackles for the rear leafs. I fabbed a custom crossmember to fit the front Dana60 solid axle with stock leafs:
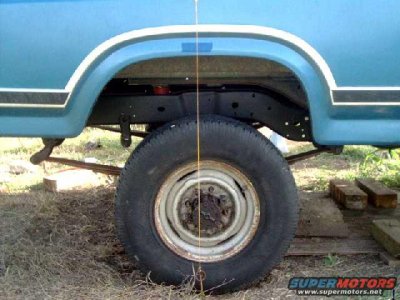
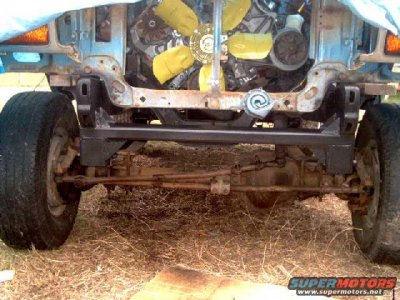
I nearly burned up the whole rig while welding on the front and setting off the dead grass!!! Since the 460 was in running shape, I dropped it in the bronco, using L&L Products motor mounts. I removed the upper EFI intake and used an adapter from Price Motorsports to fit a Holley 770cfm Truck Avenger 4-bbl carb, along with a new HEI dizzy. A complete fuel system kit from JEG's included a 140 gph electric fuel pump, filter, pressure regulator and braided steel hoses with -AN fittings, along with a 16-gal fuel cell:
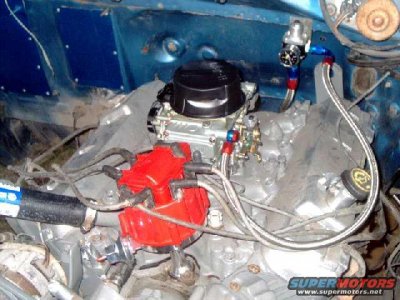
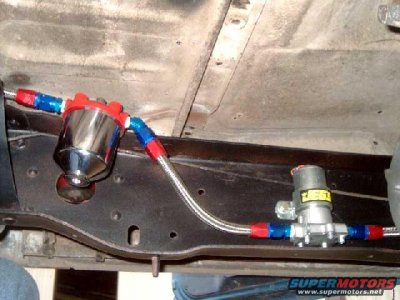
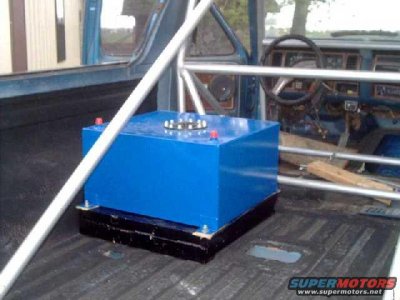
Along with the 460 came the C6 auto and B-W 13-56 t-case. I made some bushings from a 78/79 bronco work for the trans crossmember mounts, and am currently working on notching it for the front drivehaft. I made a rear shaft from 1/4" thick square tubing. The F-350 t-case had a slip yoke rear out put that i swapped over to a fixed yoke:
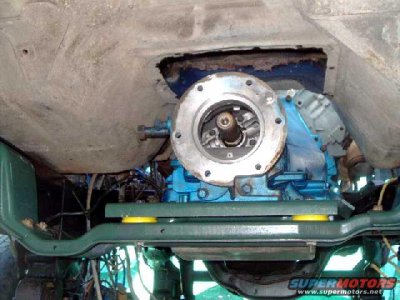
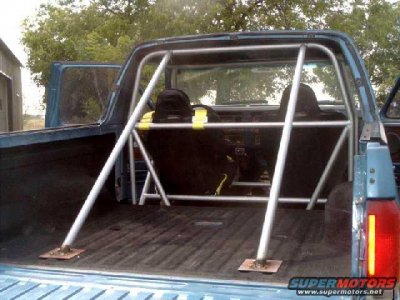
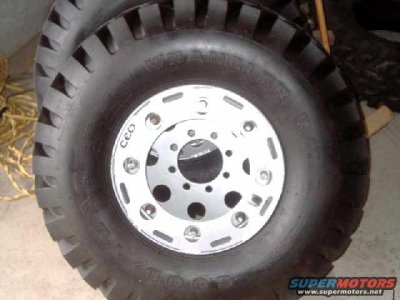
Somewhere alogn the way I Herculiner'd the interior, and removed the rollcage to paint it. Finally got to put in the PRP Racing seats, too, with RJS 5-pt harnesses. I bought a set of used Hummer H1 rims and tires, and had CEO Ofroad in Conroe, TX re-center the rims and add rock rings. The tires are 36x12.50R16.5 Goodyear RT-II's, and the rims are powdercoated silver:
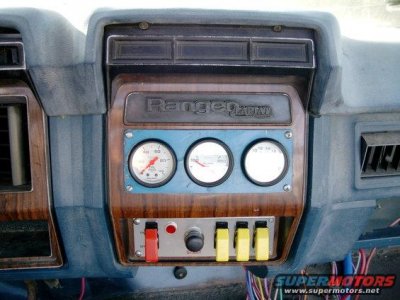
Next major sytem was the electrical, and that's taken about a year. I bought a universal 22-circuit wiring harness from EZ2-Wire off e-bay, but am only using 7-8 circuits at present. All power goes thru a master ignition switch and panel mounted in the center dash bezel, along with autoMeter Phantom gauges for oil (mech), water and volts:
I've had to make my own brackets and do quite a bit of fab work to make things fit, but I feel it's worth every penny and every hour. I'll update soon with a few completed pics of the beast, JSM84
(edit w pics)


