Tuesday - November 22nd, 2022
NOTE: I believe this all happened because the battery was hooked up backwards. I'm surprised it didn't do more damage than what I currently know.
Here's what I did to fix the bad alternator on my 1989 Bronco 2 XLT:
I received the car with the battery cables hooked up backwards, it had been this way sitting for months. My first thought was that all kinds of wiring has been burnt out, fusible links, fuses under hood and dash, fried alternator, and the list goes on. First I hooked the battery up properly and then checked it, it only had 11 volts. Then I tried to jump it but nothing at all happened when I turned the key to the start position (the gauges were working though).
My first thought was the starter solenoid. I took a ***** driver and jumped it across the relays 2 positives and it started to crank...ok, a good sign. Then I checked the 'S' wire above those 2 positive terminals for voltage when the key was turned to the on position...it had voltage. Ok, new starter solenoid needed.
Bought a new starter solenoid for $20, put it in, and it started...cool! Next, I checked to see if it was charging and it was not. Removed the alternator to get it tested and it tested bad. Went to a yard and bought another one for $35 but it had a different type of pulley on it. I tried hard but couldn't get the 15/16's nut off of either alternator, they are on there super tight.
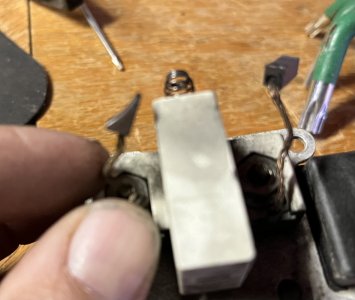
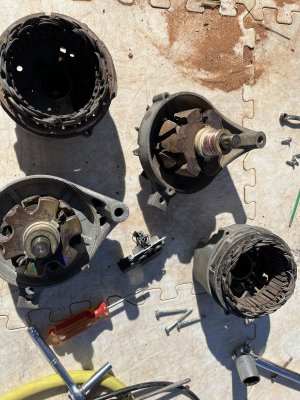
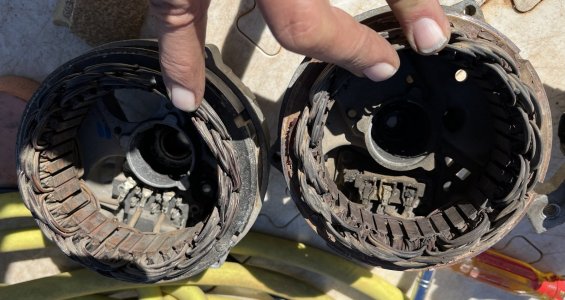
In the past I have taken apart alternators and fixed them so I first took the bad one apart. Removed the voltage regulator to look at the brushes and they were almost totally gone (I'll put pics at bottom). Then I removed the case on the original 'bad' alternator to look inside. There was much black soot and the terminals looked burnt. I also did all of the above to the alternator I got at the yard, it looked much better but its brushes were really short but much better than the bad one.
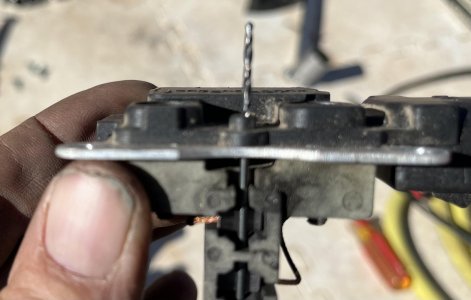
So here's what I did next: I took the original alternator front cover (pulley, cover, and rotor) and then took the back of the yard alternator (stator, rectifier, and voltage regular) and put it all together. I used a small drill through the hole of the voltage regulator to hold in place the brushes while inserting into the cover. I must mention that I cleaned and sanded a little on the rotor and stator and the shaft where the brushes brush up against. Then I put it in and guess what...it charges most excellently!
Ok, I can and should do two things - either just go ahead and buy the Orielly's $120 new alternator or I can buy a $5.00 brush kit and put new brushes in. I need to mention that I'm out here in the Arizona desert and a ride to the auto parts store is around 100 miles round trip so I always do what I can at home till I can get out.
I'll attach pics of my play time, thank you people!


