OBA

Disclaimer: Links on this page pointing to Amazon, eBay and other sites may include affiliate code. If you click them and make a purchase, we may earn a small commission.

Bebop Man

Member
Joined
Dec 26, 2007
Messages
257
Reaction score
1
Location
Rapid City, SD
I was browsing the local JY and found a York 210 A/C compressor in an old IH TravelAll. I thought the idea of some on-board air would be nice, so I grabbed it for a low price.

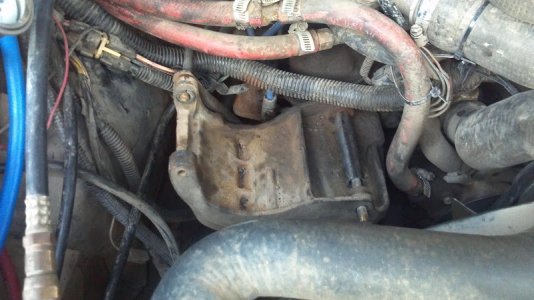
My first question was, where do I mount it? I wanted to keep my A/C, and all the fancy mounting doo-dads by BroncoAir are for 87+ with serpentine belts (losers). Then I remembered that I had disconnected my smog pump years ago, pulled off the belt and left it alone. I pulled off the smog pump and took some measurements, and figured out that it would fit with a few changes, mostly rerouting the heater hoses and a couple of wires.
2012-08-26_18-32-57_405.jpg

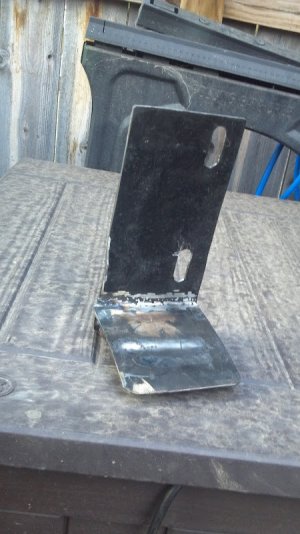
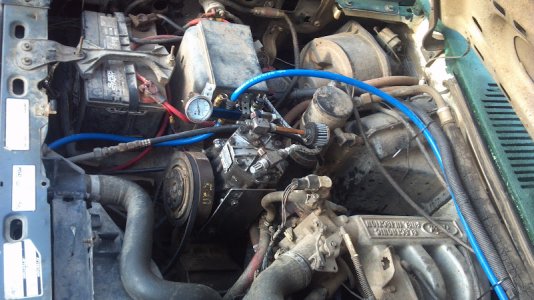
I fabbed up an L-shaped bracket that lined up with the bolt holes on the compressor and used a short piece of round tube to anchor between the left-hand tabs. I still need to anchor the other side and make it adjustable so I can tighten up the belt.
2012-08-26_18-34-54_593.jpg

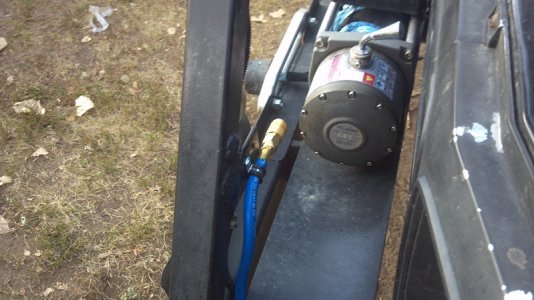
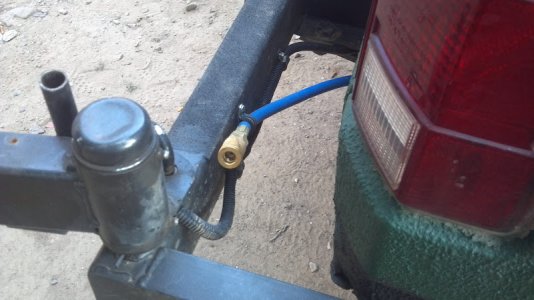
The air lines where fairly easy to route. I'll need to get more pics from underneath. I put quick disconnects front and rear, on opposite corners. I mounted a 2 1/2 gallon air tank underneath the back seat, just behind the '****'.
2012-08-26_18-34-39_321.jpg

2012-08-26_18-34-09_534.jpg

2012-08-26_18-30-26_388.jpg


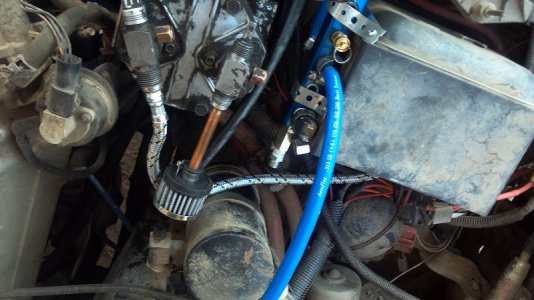
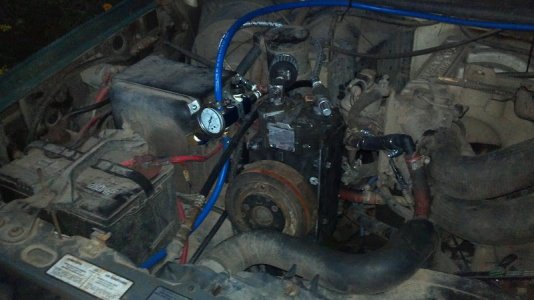
Looking down on top of the setup. The steel braided line is the outlet from the compressor


, and will ***** into the check valve of the manifold once I get an elbow to make that bend a little easier.


I'll get some more pics from underneath tomorrow showing the mounting of the air tank and air lines.


Last edited by a moderator:
OP
OP
B

Bebop Man

Member
Joined
Dec 26, 2007
Messages
257
Reaction score
1
Location
Rapid City, SD
Yeah I went that route because while my AC doesn't work right now, I'd like to be able to have it, especially with all these 100*+ days. And in SD, there are no emission laws, so I'm not running afoul of the local gendarmerie. If one of those things were to change, I'd have to come up with a Plan B.

I'll get some more pictures up here tonight, with details on the compressor bracket, air line hook-ups, and the tank mounting details.

One question, though: When I did the 3G swap a few months back, my new alt came with a single belt pulley. I ordered a dual-belt pulley from RJM Injection. What's the best way to swap the pulleys? There's bolt through the shaft that holds on the pulley, but I can't seem to clamp the pulley down enough to keep from spinning when I hit it with the impact gun. Any tricks to that?

 
OP
OP
B

Bebop Man

Member
Joined
Dec 26, 2007
Messages
257
Reaction score
1
Location
Rapid City, SD
2012-08-27_19-01-45_669.jpg

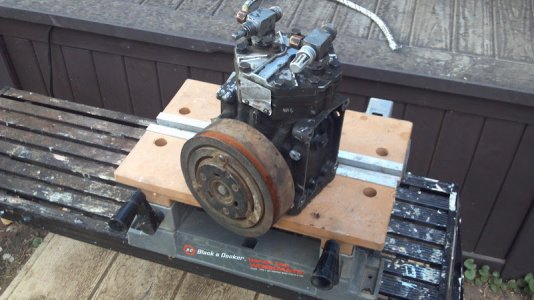
York 210 R A/C compressor from a '69 TravelAll. York compressors are desired for this kind of upgrade because unlike most A/C compressors that require lubrication from the R-134/12 refrigerant, the York has it's own internal oil supply.

2012-08-27_19-02-01_789.jpg

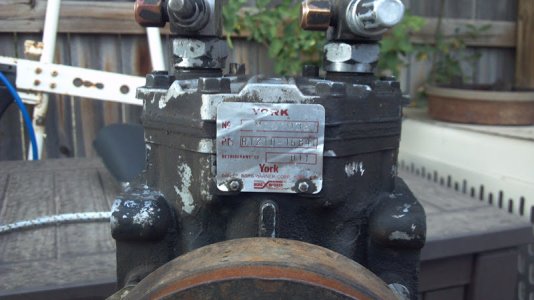
The manufacturer's plate. With the engine idling at 750 RPM (taking into account the diameter of the crankshaft pulley and the alternator pulley), the York 210 will pump out about 2.4 CFM. If I goose the throttle to 2000 RPM, it jumps to about 6.4 CFM

2012-08-27_19-02-19_244.jpg

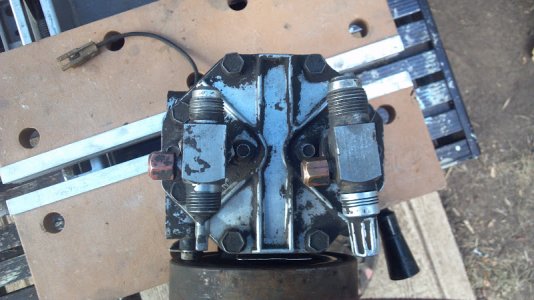
Looking down on the York. The fitting on the left is the intake, and I tapped it out for 1/8 NPT. The fitting on the right is the discharge, and tapped out for 1/4 NPT

2012-08-27_19-03-29_880.jpg

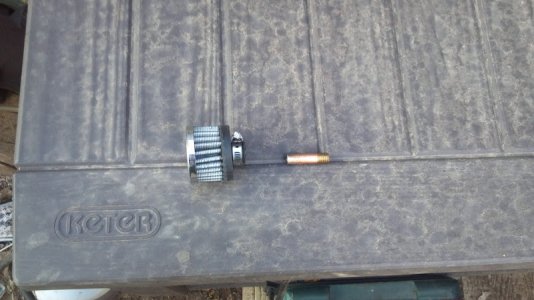
K&N 62-1320 air filter and a short chunk of pipe. The filter slips on one end, the other threads into the intake of the compressor.

2012-08-27_19-03-06_659.jpg

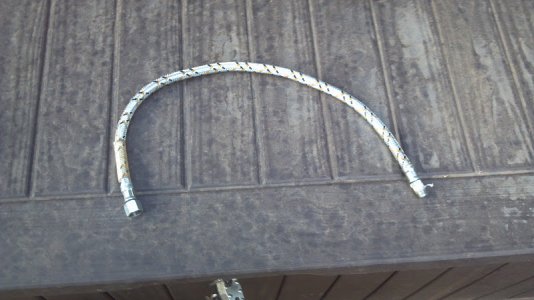
24" flexible oil line. I went with the braided steel line as the discharge side of the compressor can get very hot.

2012-08-27_19-08-33_295.jpg

2012-08-27_19-08-46_321.jpg

My custom bracket. Not bad for a 20A mini welder, side grinder, and Dremel.

2012-08-27_19-07-45_176.jpg

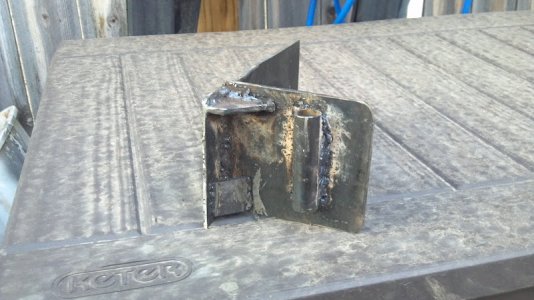
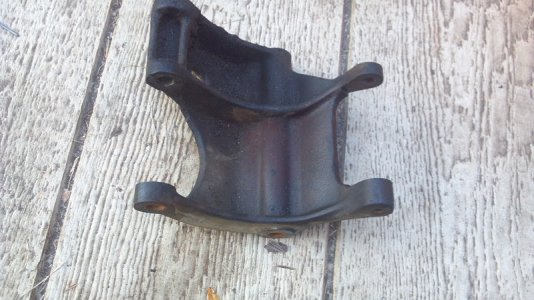
Smog pump bracket. The round tube will house the bolt on the left, which will be the pivot point for tightening the belt.

2012-08-27_19-03-19_230.jpg

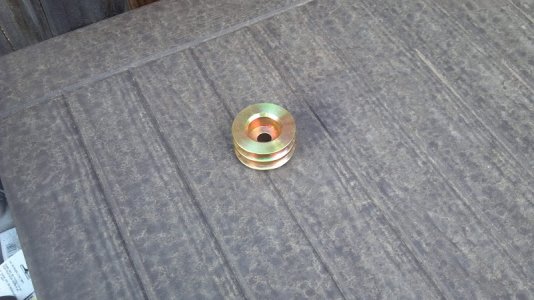
When I upgraded the alternator to the 165 amp 3G, it only had a single v-belt pulley. In order to drive the York, I had to pick up a dual v-belt pulley. This one I got from RJM Injection. 2.5" in diameter.

2012-08-27_19-15-20_626.jpg

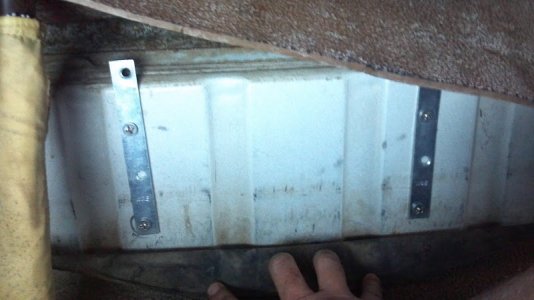
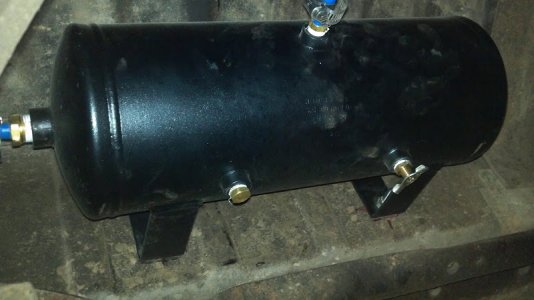
These backing plates support the air tank. This is the **** under the rear seat, looking straight back.

 
OP
OP
B

Bebop Man

Member
Joined
Dec 26, 2007
Messages
257
Reaction score
1
Location
Rapid City, SD
(Darn image post limit!)

2012-08-27_19-18-28_839.jpg

2.5 gallon air tank. One line supplies the tank, the other leads to the rear quick disconnect.

2012-08-27_20-04-04_971.jpg

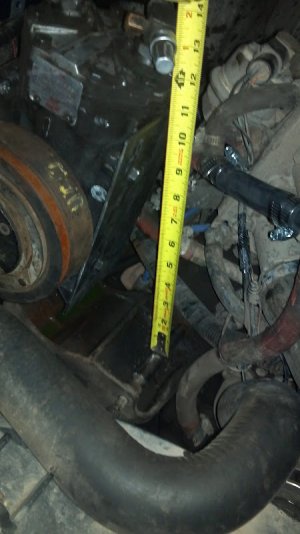
I'm thinking about some kind of turnbuckle with clevis mounts on the bracket and the round tube. The angle of the tape measure approximates the angle of the adjuster.

2012-08-27_19-55-33_548.jpg

Here's the York mounted to the bracket, air lines all hooked up, and heater hoses re-routed. All that's left is the electrical hookup, the belt, and some kind of adjuster to tighten the belt. Electrical is easy. I'll tap off a +12 on Run circuit to a switch on the dash, to one side of the pressure switch on the manifold, with the compressor clutch wired to the other side of the pressure switch. With the dash switch on, and system PSI less than 90 PSI, the compressor clutch will engage, driving the compressor as the belt turns. The switch opens at 120 PSI, or when I turn off the dash switch. The 90-120 PSI range is perfect for ARB Air Lockers and most air tools. I may even mount some air bags in the rear for load and leveling capacity. As I have two more outlets on the manifold, and 2 more on the air tank itself, I have some room for expansion.


Krafty

New member
Joined
Feb 17, 2007
Messages
1,063
Reaction score
5
Location
Ontario Canada
for the alt pulley I would use a vice on the old pulley and hit it with the impact , you may have to impact it to tighten first to break it loose then back off the nut, a pipe wrench works well too.

 
OP
OP
B

Bebop Man

Member
Joined
Dec 26, 2007
Messages
257
Reaction score
1
Location
Rapid City, SD
for the alt pulley I would use a vice on the old pulley and hit it with the impact , you may have to impact it to tighten first to break it loose then back off the nut, a pipe wrench works well too.

The pipe wrench and impact gun worked like a charm!

My turn-buckle and other misc. bits came in yesterday, so I'll add a few more pics this weekend, showing the finishing touches.

 
OP
OP
B

Bebop Man

Member
Joined
Dec 26, 2007
Messages
257
Reaction score
1
Location
Rapid City, SD
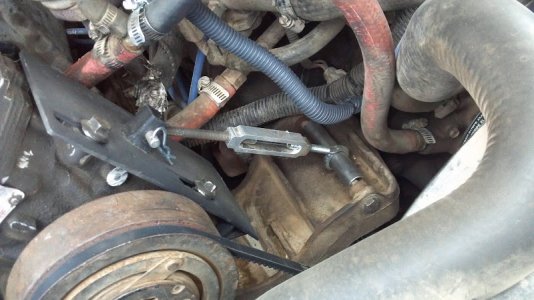
This is the turnbuckle I came up with to brace the bracket and adjust the belt tension.

2012-09-10_17-25-17_701.jpg

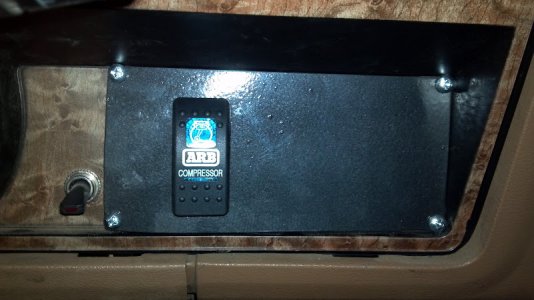
And here is the switch I opted to use, since I plan on having ARB lockers in the future:

2012-09-10_21-23-35_765.jpg

 
Last edited by a moderator:
Members online

No members online now.

Latest posts

Forum statistics

Threads
22,530
Messages
136,069
Members
25,133
Latest member
tsebalj
Top