Borg Warner 1356

Disclaimer: Links on this page pointing to Amazon, eBay and other sites may include affiliate code. If you click them and make a purchase, we may earn a small commission.

BLADE262US

Active member
Joined
Feb 21, 2004
Messages
1,713
Reaction score
5
Location
Michigan
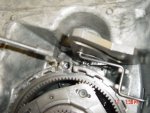
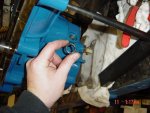
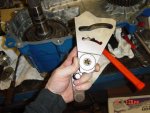
The T case in my 89 puked its guts I have all the new parts ready and had the case sandblasted for powdercoating so Im just about ready to reassemble . I took lots of pics of the parts and the case for idetification . The only thing I didnt do was think about doing this before I threw away all the broken parts and dumped the glittery oil but you can imagine what that looked like . So if anyone is interested in seeing how to do it Ill post the pics detail what the parts are and aswer any questions I can . I just need some time now been working 12 hr days again . This will be for a manual shift T Case 1356 from an 89 should cover 87 threw 91 . 92 through 96 are not equiped to drive a speedometer cable so the back case cover is a bit different . Let me know . :D /emoticons/[email protected] 2x" width="20" height="20" />


RodLee

New member
Joined
Dec 14, 2005
Messages
23
Reaction score
0
Location
Temple, TX
sounds interesting <)
cowboy.gif


OP
OP
B

BLADE262US

Active member
Joined
Feb 21, 2004
Messages
1,713
Reaction score
5
Location
Michigan
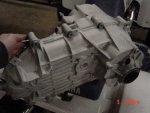
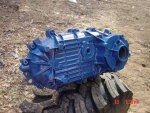
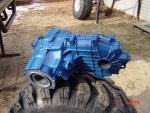
Well I didnt think about doing this till after I cleaned up and threw away all the busted stuff but heres tha case after sandblasting and after powdercoat not a neccesary part of the process but I had stuff going to be blasted so figured why not . :D Ill have more pics in a couple days of the assembly process waiting on one more part to show up .

before1.jpg

before2.jpg

after1.jpg

after2.jpg

 
OP
OP
B

BLADE262US

Active member
Joined
Feb 21, 2004
Messages
1,713
Reaction score
5
Location
Michigan
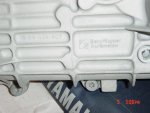
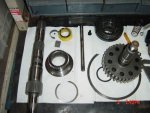
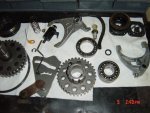
OK I started on it without the last part I need . So I guess Ill take this one step at a time too dissasemble this case you must drain all the oil and remove the yokes and I think they were 1 1/8 or 1 1/4 cant remember but there big once there off you need to pull the seal from the input shaft theres a snap ring recessed back in there under that seal that is an absolute bitch to get off and will probably be the hardest part of doing the entire thing . Now you need a T50 torx bit to remove the case bolts start with the cover on the output shaft once you take this off youll see a plastic gear with a metal snap ring beside it remove the snap ring and slide the gear back and watch for a ball bearing that will fall out that keeps the gear keyed to the output shaft . Now clean all these parts and then theres a snap ring in front of the bearing on that output shaft you need to take it off . Now you can remove the bolts around the outside of the main case and open the case . I didnt think about writing this when I started so I have no pics but for reassembly I have alot . Once apart you will see the guts and how it comes apart and if your taking it apart you will more than likely see broken parts laying in the case unless you were just really bored heres some pics of the case ID and the guts . :D

MODEL_NUMBER.jpg

PARTS1.jpg

PARTS2.jpg

 
OP
OP
B

BLADE262US

Active member
Joined
Feb 21, 2004
Messages
1,713
Reaction score
5
Location
Michigan
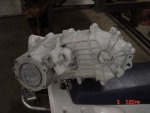
If your T case failed its more than likely because of the oil pump and it breaks the 4 low range fork so you will need all these peices . I got my kit from a guy named Bob at riverside gear he has listings on ebay . The kit is very high quality and only $129 shipped for the low range hub ( which to get from ford will cost you over $600 because they only sell it in a gear set ) the low range fork , complete oil pump rebuild , complete seal kit which will work with the slip in yoke or the ****** , Just all the peices you need to fix a failure caused by the oil pump . He doesnt have any listed on ebay right now but his email is [email protected] :D /emoticons/[email protected] 2x" width="20" height="20" />
 
OP
OP
B

BLADE262US

Active member
Joined
Feb 21, 2004
Messages
1,713
Reaction score
5
Location
Michigan
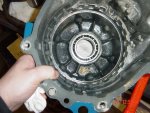
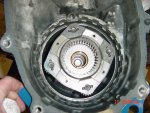
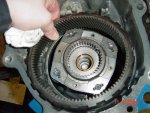
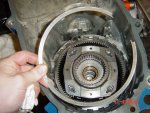
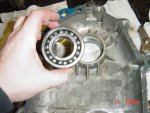
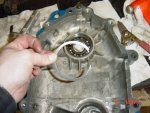
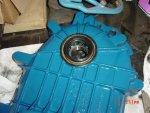
When you start to put it back together first thing I did was make sure that the cases are clean then start with the input side of the case and install the input bearing , snap ring , 4 low planetary , outer planetary ring , and the big ass snap ring . :D I used a seal driver kit to put the bearing back in just line it up tap it with a hammer to get it started then drive it into the case makeing sure it doesnt get cocked in the case , once seated there is a snap ring that goes after it youll see the groove it sets in , Once thats in you need to set the planetary assembly into the bearing dont force it , it will slide right in , now install the outer ring , it will line up on the 4 planetary gears and the grooves in the case once that is in take the big ass snap ring and put it in its groove then last the snap ring that was very difficult to get off the front of the input shaft needs to be reinstalled I just got it started on the shaft and then pushed it back with a screwdriver till it snapped into its groove ( goes on way easier than comes off ) then very last thing install the input shaft seal then your done with that section ( just a note all 3 shaft seals are the same size ) :D

BEARING_INSTALL.jpg

PLANETARY_INSTALL.jpg

OUTER_RING_INSTALL.jpg

BIG_ASS_SNAP_RING_INSTALL.jpg

 
OP
OP
B

BLADE262US

Active member
Joined
Feb 21, 2004
Messages
1,713
Reaction score
5
Location
Michigan
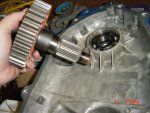
Next on the other end of this case half is the front output shaft you can now knock the bearing in the same as you did the input shaft and install the snap ring in the groove behind it and install the seal , You could set the output shaft and chain sprocket in the bearing but dont put the yoke on yet as it will have to come back out to put the chain on . :D

FRONT_OUTPUT_BEARING.jpg

FRONT_OUTPUT_SNAP_RING.jpg

FRONT_SEAL_INSTALL.jpg

FRONT_OUTPUT_SHAFT_AND_SPROCKET.jpg

 
Last edited by a moderator:
OP
OP
B

BLADE262US

Active member
Joined
Feb 21, 2004
Messages
1,713
Reaction score
5
Location
Michigan
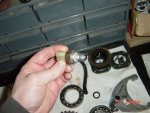
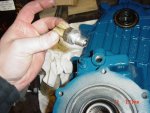
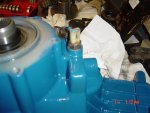
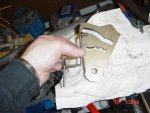
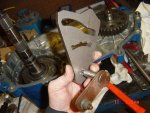
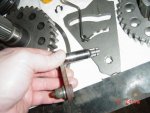
Next the shifter assembly needs to be installed this is kinda tricky but NO WHERE near as bad as the 86 and back T cases not sure the model ( borg warner ) First install the shifter seal , Then the shifter cam has a shoulder that needs to go toward the shifter shaft now theres a spring and bushing that must be installed with the cam at the same timethe shifter and cam are keyed the spline of the shifter shaft has one flat side so you cant mess it up the older ones can go in many ways ( very irretating if you werent paying attention ) Take the spring and bushing and put it in the slot on the cam then look at the case theres 2 bosses where the spring sets and a hole in the case where the tail goes , Put the tail in the hole and line the spring up in the bosses now push the cam down so it lines up with the shifter shaft hole and slide the shifter into the hole and into the splines . Now theres a c clip that goes on the end of the shifter shaft I had a stiff magnet that I set the clip on and was able to reach down there and push it on you can do it with a screwdriver also , Once its on your done except for reinstalling the 4x4 shifter light switch . now onto the next step tomorrow ( Im tired LOL ) :D

4X4_LIGHT_SWITCH.jpg

4X4_SWITCH_INSTALL.jpg

4X4_SWITCH_INSTALLED.jpg

CAM_AND_SPRING.jpg

SHIFTER_AND_CAM.jpg

SHIFTER_ASSEMBLY.jpg

SHIFTER_C_CLIP_INSTALL.jpg

SHIFTER_SEAL_INSTALL.jpg

SHIFTER_SHAFT_KEY.jpg


Members online

No members online now.

Latest posts

Forum statistics

Threads
22,509
Messages
135,880
Members
25,108
Latest member
Utahstroke
Top