Yo Scott,
Looks great! Hopefully the bezel won't be prone to damage when removing for repair as the originals suffer..
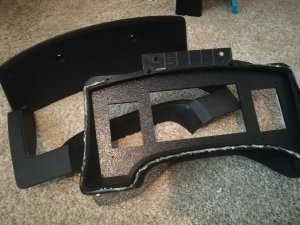
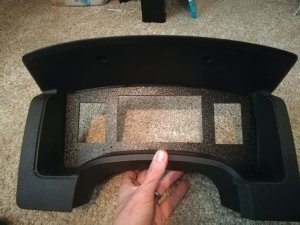
92-96 Cluster Bezel Repairs
"It's common for the clips across the top snap off their mounting posts, but the posts are hollow, so it's fairly easy to install a *****. The hardest part is getting the final 1/4 turn on the ***** so the clip stays tight.
View attachment 21485
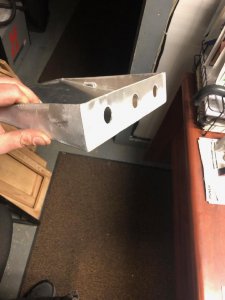
It's even more common for the ***** holes behind the trim strips to break out, but it's easier to repair them. I used this plumber's strap to hang some hardware for powdercoating, which is why it's black. But since it'll be totally hidden, plain strap is just as good. Even if the holes haven't cracked yet, this mod will prevent them from ever breaking" by Steve
Keep on keeping on Scott.