Scottburgesscpa
Member
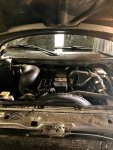
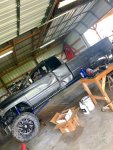
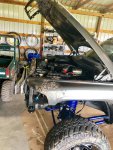
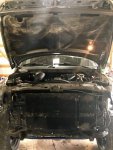
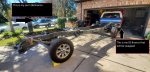
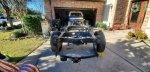
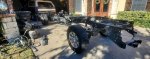
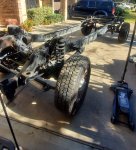
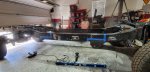
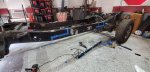
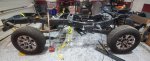
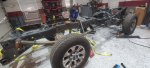
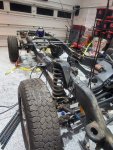
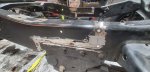
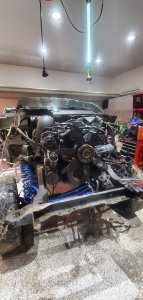
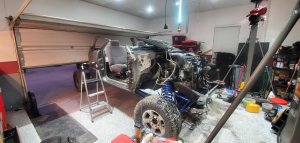
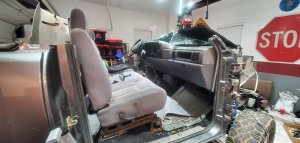
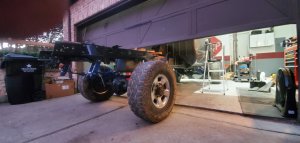
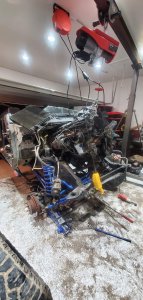
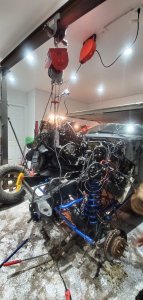
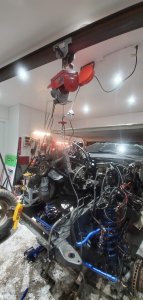
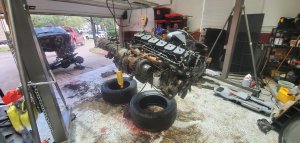
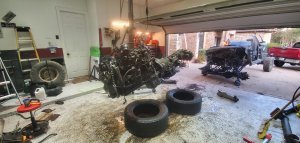
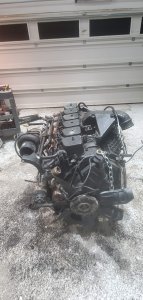
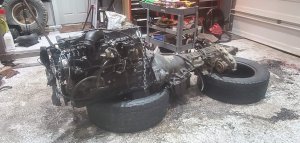
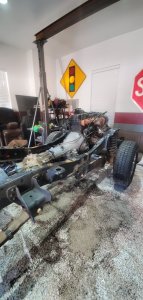
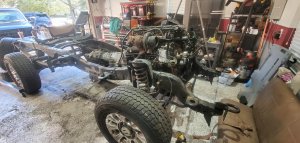
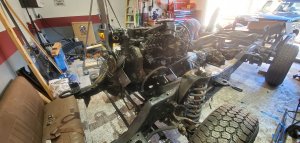
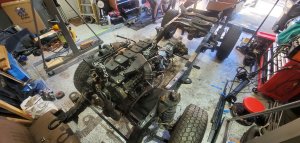
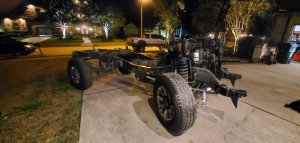
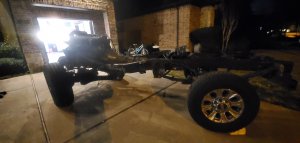
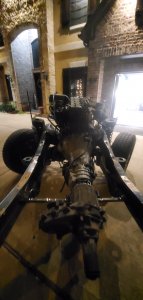
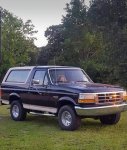
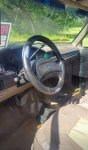
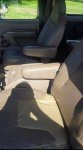
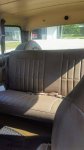
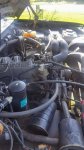
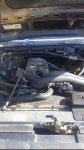
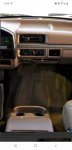
Hello everyone. I hope you all enjoy following this thread. I am new to this board and have never done this before so I apologize for any errors or mistakes. Let me say that I am NOT a mechanic but I have been enjoying the automotive hobby since I was 12 years old. I am now 44 years old and have restored several vehicles from the ground up - although never documented in a thread. I only get to work on the truck in the evenings and weekends since I am a practicing accountant "9 to 5". I live in the Katy Texas area and would love any help from my fellow members in the way of advice or coming over to my house to help me wrench on this thing! This whole thing started when my 15-year-old son started shopping for his first vehicle. We are an outdoor family and go camping, hunting, and the beach a lot. He loved the idea of being able to take off the top and enjoy all the versatility it offers. So we found him a 96 Bronco 4x4 with the 351 motor in it. He loves his Bronco. The problem is....I also loved it! So I started shopping for one of my own. I found this 92 Bronco XL 5.0 in College Station, just outside of Houston Texas. It seemed to be in excellent condition inside and out. There was only one small rust spot above the driver's side door. The engine was leaking a little oil and was horribly underpowered. It had 289k miles on it. Here are the pics of the vehicle on the day I bought it...
Attachments
-
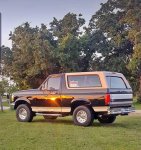 Screenshot_20191005-224025_Facebook.jpg241.4 KB · Views: 23
 -
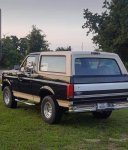 Screenshot_20191005-224027_Facebook.jpg197.2 KB · Views: 22
 -
 Screenshot_20191005-224031_Facebook.jpg214.5 KB · Views: 18
 -
 Screenshot_20191005-224035_Facebook.jpg233.8 KB · Views: 19
 -
 Screenshot_20191005-224039_Facebook.jpg126.7 KB · Views: 18
 -
 Screenshot_20191005-224046_Facebook.jpg116.8 KB · Views: 16
 -
 Screenshot_20191005-224057_Facebook.jpg255.7 KB · Views: 18
 -
 Screenshot_20191005-224102_Facebook.jpg234.1 KB · Views: 19
 -
 Screenshot_20191005-174434_Chrome.jpg87.7 KB · Views: 21