Travis W
Member
Which brand of bondo did you use?
Disclaimer: Links on this page pointing to Amazon, eBay and other sites may include affiliate code. If you click them and make a purchase, we may earn a small commission.
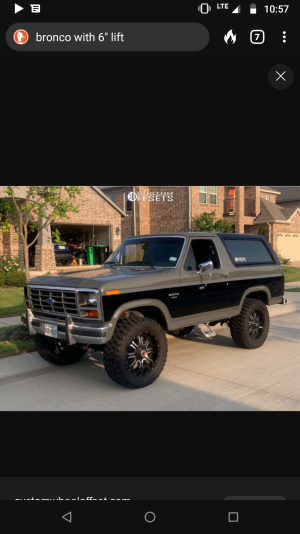
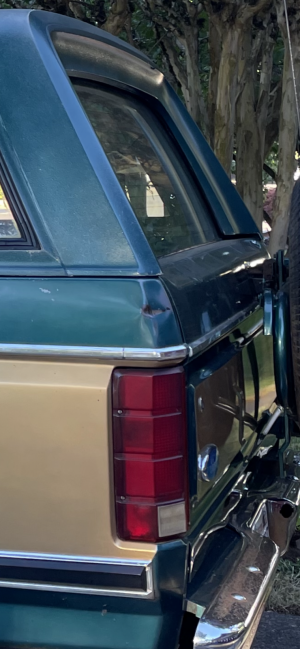
Correct on the gap. It is the bedside that is moving when the tire carrier swings open and closed. I am going to take off the spare tire this weekend and see if the weight of the tire/wheel is the problem. Then make the decision to try and resolve it, or just go with a bed mouthing spare tire kit. I like the spare tire on the back with the Ford Bronco tire cover so I’ll be bummed if I can’t figure it out. Maybe even a small and lighter spare tire might resolve it.Youre talking about the body panel gap between the bedside and the tailgate on the passenger side right?
I do know when mine was on there was no difference between open and closed. I can dig up photos of both. Can you tell if the tire carrier is tweaking the tailgate or if its the bedside thats moving toward the tailgate?
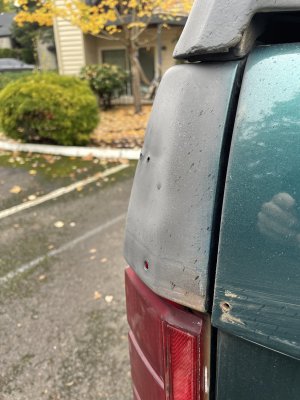
Nice work.A body shop wanted $450 to repair this dent. I bought a $29 slide hammer and pulled it out and will do a skin of Bondo and some sanding. Not too bad!
Hi Chris. Can you give me more info on the shims. I’m not clear on what you’re describing. Thanks in advance.if I ever paint mine (after 40 yrs this Fall, yes it's been painted, but rattle can) I'll use the tutone scheme above (eventho a '70 bod). No chrome. Last yr we made upa paint booth (the house construction poly vapor barrier'n window or box fan). Not tall enuff for the bronk (no laborer for it anyway, hands too arthritic for me to do it). May B some day...
\_("-)_/
If the rig is anythin like the 1st gen U will need (not sure of name) cross pieces that "shim" (OE) the whole tail gait or fender. They R smaller pieces (ck an exploded body diagram) under tail gait &/or fender. Usually one needs to 'go back a few steps" (in the 'layers') to get panels lined up. W/age things sag, just like humans ("Oh, my poor body.") I use a 'smaller' tire on my rack. Never needed to use it anyway.
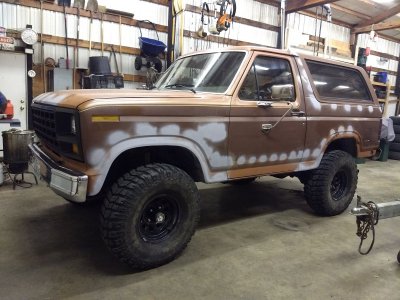
Hey buddy, hope all is well. Just wondering if you’ve painted your Bronco yet? Mainly wondering if the body trim holes you filled in with Bondo have held well and don’t show signs of cracking? I’m still toying with doing the same, as a welder quoted an outrageous price to fill them in. The alternative is to simply reinstall the trim, but I like the flush look of no trim.Thats gonna be a damn nice bronco man! Building a hunting rig out of mine. Will have a 2" suspension+ 2" body lift on 35's. Got most of my half-assed body work finished, will be rhinolining the whole thing.
The rear window has been a real PITA but other than that no problems than rusty bolts. Lots of making up for lack of maintenance!
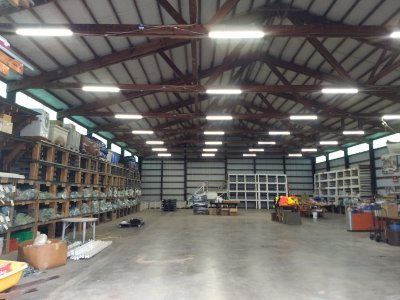
Oh great lift! I like that.Nope, its too cold now so the paint will have to wait for summer. Got the lift done though. Moved onto other projects in the meantime, just swapped out the old lights to new LED's in my garage this week.
You made any progress on your bronco?
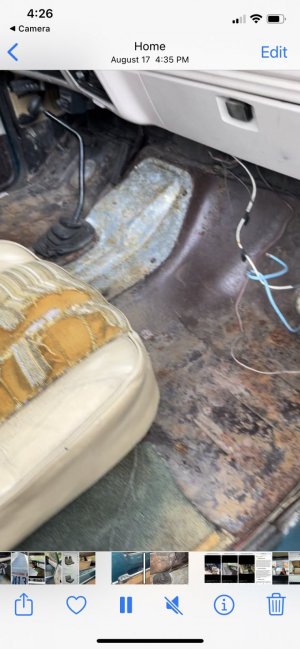
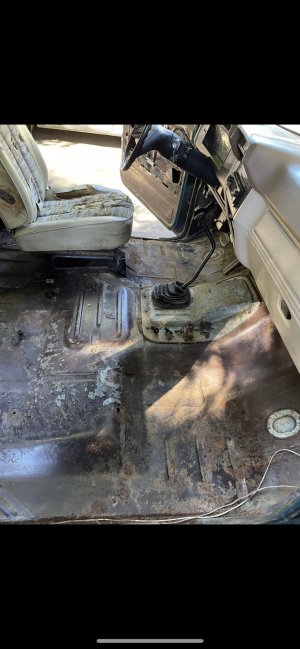
Here is the “before” image. It took a lot of cleaning and sanding.Oh great lift! I like that.
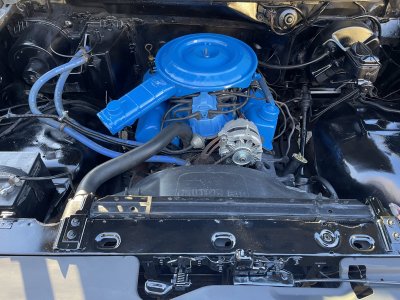
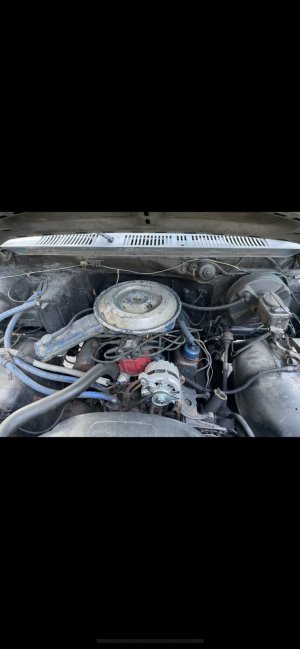
I just finished the engine carriage. I removed and sanded and re-painted the valve covers and air filter. They also cleaned up all the wiring re-organized it and glass step the carriage. All it needs now is blue spark plug wires.