You are using an out of date browser. It may not display this or other websites correctly.
You should upgrade or use an alternative browser.
You should upgrade or use an alternative browser.
Tearing into the Project
- Thread starter Krafty
- Start date
Disclaimer: Links on this page pointing to Amazon, eBay and other sites may include affiliate code. If you click them and make a purchase, we may earn a small commission.
Rons beast
Active member
- Joined
- Dec 13, 2007
- Messages
- 1,537
- Reaction score
- 15
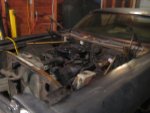
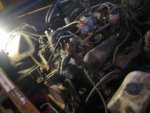
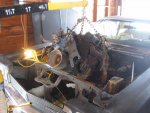
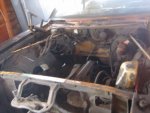
Looks pretty grungy....Glad you decided to go ahead and tackle it. The car's worth it.
Good Luck
Good Luck
Krafty
New member
thanks, Ill be sure to get some better pics of the rot once the front end it apart and those fenders aren't in the way.
Krafty
New member
I found a guy on a c-body forum who has the a arms, and complete front end off a 66 Chrysler, and this guy is only 2 hours away. Lucky. I know i can get the a arms for $40 and I don't need anything else besides parts of the sub-frame so I'm getting him to give me a price for it. its about 98% the same and the suspension is 100% the same, it wont bolt right up but its close enough that I can just cut out the bad stuff entirely and replace it with the same piece off the other frame. .....If the price is right.
might be doing a short road trip this weekend. hurray
p.s I was going to pull the fenders off this morning, but alas i forgot my tools at work. This is why a man can never have too many tools.
might be doing a short road trip this weekend. hurray
p.s I was going to pull the fenders off this morning, but alas i forgot my tools at work. This is why a man can never have too many tools.
Krafty
New member
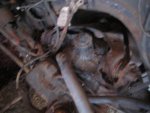
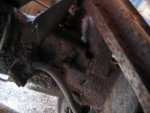
these are the pictures of the progress I made today, when I started at 7 this morning the steering and suspension were together adn the passanger side fender and bumper were on. after I took the pictures I got the steering box out, a arms off, brake calipers off and shocks out.
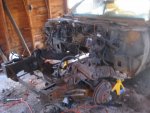
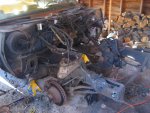
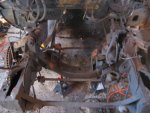
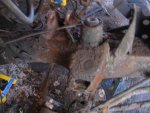
these two pics are of the rot on the drivers side
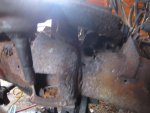
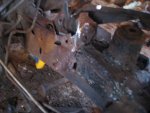
this is the passenger side, looks like I just to replace the a arm and clean it up a bit.
these two pics are of the same parts of the subframe I picked up on Saturday to show the difference,
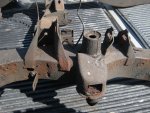
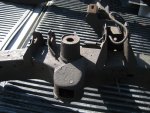
the other subframe has its issues in other places and would have to be repaired before I could swap it in, so im going to cut out the subframe around the drivers side a arms mounts and weld in the other one on mine. then repair the rear of the sub frame under the uni-body, this way I dont have to mes with the transmission mounts and torsion bars. then I can throw some suspension parts at it and re assemble some of the front.


these two pics are of the rot on the drivers side


this is the passenger side, looks like I just to replace the a arm and clean it up a bit.

these two pics are of the same parts of the subframe I picked up on Saturday to show the difference,


the other subframe has its issues in other places and would have to be repaired before I could swap it in, so im going to cut out the subframe around the drivers side a arms mounts and weld in the other one on mine. then repair the rear of the sub frame under the uni-body, this way I dont have to mes with the transmission mounts and torsion bars. then I can throw some suspension parts at it and re assemble some of the front.
Last edited by a moderator:
Krafty
New member
This weekend I have the steel the tools and the time, hopefully I can get the front end all fixed up and start putting the suspension back together with the new camber bolts I'm getting today. many pics to come.
Krafty
New member
Here are the pictures I promised,
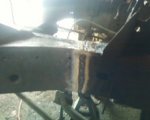
first on Saturday I took to cutting the old sub frame apart around the upper a arm mounts.
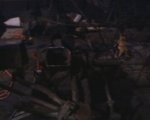
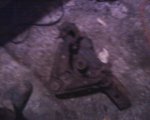
then I cut the exact same section out of the donor frame I picked up on the far side of Kitchener.
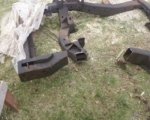
I then proceeded to mock up and trim as required to get a nice fit with minimal gaps all around. (I cut the replacement piece a little long to allow for trimming to get the angles right)
I then tacked it in place, checked my measurements and proceeded to 3 and 4 pass weld it all around. its hard to see in the pictures but I've got about 1/2 inch of weld coverage on each joint with a gap no more than 1/8 " if not tight in most spots before welding, on the cross member on the underside I wasn't able to it very close because of miss cutting my new piece so what I did was cut a piece the exact same size as my gap, tapped it in with a hammer and 3 passed it all around.
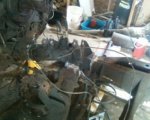
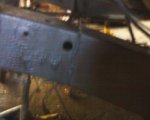
I threw some flat black tremclad rust paint over everything just to cover it up until I'm ready for sandblasting and sealing up my engine bay.
and That was saturday.
Now today I was working on just the subframe torsion bar/ body mounts which were toast on the drivers side, the donor frame had been repaired so I fixed the initial repair on the donor frame and proceeded to cut out the old rotten steel to make room for my new torsion mount/ body mount.
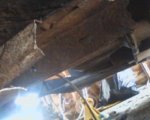
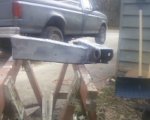
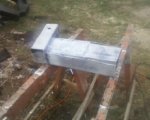
I managed to get the new piece in there and welded the begesus out of it. I had to get a little creative on how I was going to make it strong because without removing the frame from the car I was only able to weld 3 out of 4 sides, what I did was I made the new piece fit just inside the top of the old stuff so I could weld it along the side up to an inch away from the main joint to spread out some of the load stress.
now I just have to weld on a rear brace I didn't get to today and the sub frame will be complete about 2 weeks ahead of schedule.
ps I was using a 110V gassless mig machine with .035 flux core wire, you don't need a big money machine to do quality work. and without 15 packs of cutting disks being on sale I would have been screwed. I think I have 4 left out of 15 after 2 days
first on Saturday I took to cutting the old sub frame apart around the upper a arm mounts.


then I cut the exact same section out of the donor frame I picked up on the far side of Kitchener.

I then proceeded to mock up and trim as required to get a nice fit with minimal gaps all around. (I cut the replacement piece a little long to allow for trimming to get the angles right)
I then tacked it in place, checked my measurements and proceeded to 3 and 4 pass weld it all around. its hard to see in the pictures but I've got about 1/2 inch of weld coverage on each joint with a gap no more than 1/8 " if not tight in most spots before welding, on the cross member on the underside I wasn't able to it very close because of miss cutting my new piece so what I did was cut a piece the exact same size as my gap, tapped it in with a hammer and 3 passed it all around.


I threw some flat black tremclad rust paint over everything just to cover it up until I'm ready for sandblasting and sealing up my engine bay.
and That was saturday.
Now today I was working on just the subframe torsion bar/ body mounts which were toast on the drivers side, the donor frame had been repaired so I fixed the initial repair on the donor frame and proceeded to cut out the old rotten steel to make room for my new torsion mount/ body mount.


I managed to get the new piece in there and welded the begesus out of it. I had to get a little creative on how I was going to make it strong because without removing the frame from the car I was only able to weld 3 out of 4 sides, what I did was I made the new piece fit just inside the top of the old stuff so I could weld it along the side up to an inch away from the main joint to spread out some of the load stress.
now I just have to weld on a rear brace I didn't get to today and the sub frame will be complete about 2 weeks ahead of schedule.
ps I was using a 110V gassless mig machine with .035 flux core wire, you don't need a big money machine to do quality work. and without 15 packs of cutting disks being on sale I would have been screwed. I think I have 4 left out of 15 after 2 days
Last edited by a moderator:
Krafty
New member
ive picked up some hardware to put in a couple new body mounts where the old ones were cut out, but when i do that I'm gonna have to fix a couple of the under floor cross braces and a small section of rocker panel. just on the drivers side, gotta love all that road salt...
oh and just a heads up DO NOT attempt a repair like the one I did on my subframe UNLESS you are very confident in your welding ability, this is not a job for beginners, I'm trusting my own, and my family's safety to those repairs. If you don't trust your own work that much then find a good buddy who is a certified welder, or try to avoid patching things all together, its a bit pricier but its a good alternative.
oh and just a heads up DO NOT attempt a repair like the one I did on my subframe UNLESS you are very confident in your welding ability, this is not a job for beginners, I'm trusting my own, and my family's safety to those repairs. If you don't trust your own work that much then find a good buddy who is a certified welder, or try to avoid patching things all together, its a bit pricier but its a good alternative.
Krafty
New member
Next stage of the project will be to get those two body mounts in, then get my front fenders fixed up and back on the car,
because its a unibody design I don't want the wheels on the ground until fenders are on because they are designed as structural pieces of the frame,and don't want to risk damaging my newly fixed subframe.
once the fenders are fixed up with a little metal working to be done on the bottoms, I want to roll the car outside so I can sandblast the engine bay and underside of the car, after that should just be a matter of minor repairs and body work, and that'll leave the shop open to get the motor and trans cleaned up and ready to go back in, havn't decided if I want to upgrade anything in the driveline yet. its just the stock 318 2bbl and 904 auto trans but I think my one manifold gasket needs replacing ..... maybe headers.
that wont be until later into overtime season.
Thanks everyone for the solid following so far. 199 views by this post
Last edited by a moderator:
Krafty
New member
Here are the pictures from this last weekend. I got the rad support cleaned up and painted, then undercoated the entire subframe and upper and lower control arms and spindles. ( I used the entire can, laid er on thick)
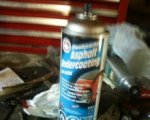
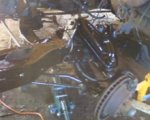
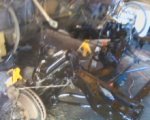
then installed the rad support calipers wheels and tires.
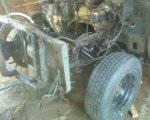
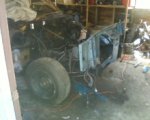
then I cut the rot out of the drivers side fender and using the old pieces and whats left of the passanger side fender as a template I cut and bent up a few pieces and welded them all together. I just threw some paint on it to cover it up cause im going to get back to that when I really get into doing the body job later on.
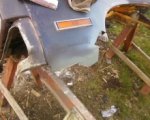
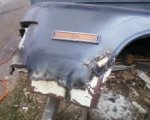
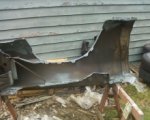
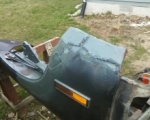
you can see in the picture where the fender is upside down that is had the extra bracing built in which is why I need them on before the wheels hit the ground and I wasn't getting to crazy with the metal work on them. I got the drivers side fender on but lost my grinder wrench when it was time to work on the passenger side one so it hasn't been completed yet.
i got brake pads shocks and a new brake line today after finding when I compressed my caliper pistons the line that goes to the passenger side split and was spraying brake fluid everywhere.
Next update will be after those parts are on and I'm rolling the car out for sand blasting.


then installed the rad support calipers wheels and tires.


then I cut the rot out of the drivers side fender and using the old pieces and whats left of the passanger side fender as a template I cut and bent up a few pieces and welded them all together. I just threw some paint on it to cover it up cause im going to get back to that when I really get into doing the body job later on.


you can see in the picture where the fender is upside down that is had the extra bracing built in which is why I need them on before the wheels hit the ground and I wasn't getting to crazy with the metal work on them. I got the drivers side fender on but lost my grinder wrench when it was time to work on the passenger side one so it hasn't been completed yet.
i got brake pads shocks and a new brake line today after finding when I compressed my caliper pistons the line that goes to the passenger side split and was spraying brake fluid everywhere.
Next update will be after those parts are on and I'm rolling the car out for sand blasting.
Last edited by a moderator:
Krafty
New member
Got the car off the jack stands today and sitting on the tires. EXCITING... I'm having company over so that's it for today. just wanted to share my excitement.
Krafty
New member
I got the big ol gal out side with its ass up on the stands at the front of the leaf springs, with the motor out and about 3/4 of a tank of gas behind the axle its sitting fairly lightly on the front so I have lots of room to work.
turns out the sand blaster idea is a bust cause my compressor doesn't get high enough pressure for the sand to work properly. so its back to stripping the rest of the car by hand. the rear brakes look good besides being adjusted so i can pinch a couple pennies there and hopefully have the underside finished by sunday. I have a new phone which takes much better pictures so Ill try to give you guys the High def update this weekend.
Cheers.
Krafty
New member
Undercoating and structural work is completed. the only things left are, engine and trans re assembly, interior , and body work and paint.
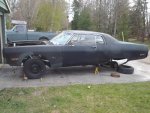
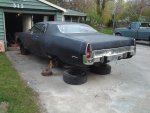
first are the new body shots.
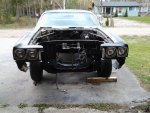
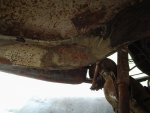
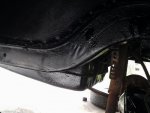
this is the passanger side rear wheelwell after scraping about 1/2 an inch of grime off, after scraping I wire brushed every surface vigorously before undercoating. surprisingly most of the underside of the car after getting the many caked on layers of grime off was decent condition factory paint.
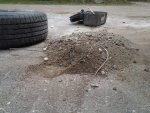
this is the pile of grime and road salt that came off my car throughout the day.
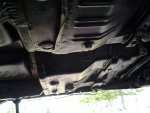
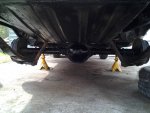
and lastly this is the old gal after $25 worth of spray on rubberized undercoating.
she's starting to look good where the sun don't shine. next up is giving her a new dress.
Also I need suggestions on a nickname for the old gal, i need something other than "the Project"
reply with some ideas or pm me.
first are the new body shots.


this is the passanger side rear wheelwell after scraping about 1/2 an inch of grime off, after scraping I wire brushed every surface vigorously before undercoating. surprisingly most of the underside of the car after getting the many caked on layers of grime off was decent condition factory paint.

this is the pile of grime and road salt that came off my car throughout the day.

and lastly this is the old gal after $25 worth of spray on rubberized undercoating.


she's starting to look good where the sun don't shine. next up is giving her a new dress.
Also I need suggestions on a nickname for the old gal, i need something other than "the Project"
reply with some ideas or pm me.
Krafty
New member
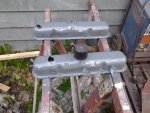
So i think i've decided that I want to get the motor back in before I work on the body/paint simply cause I want the hood on to get the paint on but I dont want to risk taking the hood off after its painted to get the motor in. so up coming steps will include getting the engine hoist for a weekend and spending a couple hours detailing and cleaning my engine block and bellhousing. with just an air hose and sprayer nozzle I got a bunch of garbage off the intake and saw some beautiful blue paint underneath. as always ill have some before and after pics.
haha and also i've already started planning my mild resto of the 93 f150 after the 73 Plymouth is finished.
haha and also i've already started planning my mild resto of the 93 f150 after the 73 Plymouth is finished.
Last edited by a moderator:
Krafty
New member
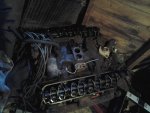
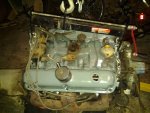
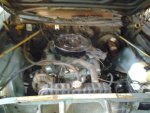
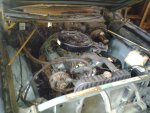
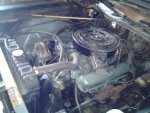
Ive got the engine in and running and getting ready to strip the trim and chrome off next weekend to start the body job. I snapped a couple pics of my cleaned up engine bay but those are on a different computer.
Krafty
New member
Krafty
New member
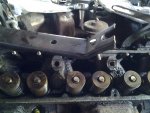
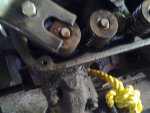
I got the passenger side exhaust manifold changed out for the one I got off a guy for $20 which doesn't have the heat riser valve in it. working on bolting up the y pipe, between engine removal and storage it got a little bent out of shape so now I have it close I need to massage it into position so I can start tacking the rest of my exhaust back together.
Krafty
New member
there are the pics of my exhaust work and my inner fenders/wheel wells.
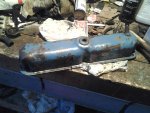
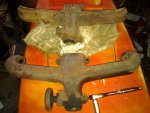
this is the old manifold sitting beside the new one.
these two pics are my patchwork exhaust i'm going to be running until I can afford a $600 TTI mopar exhaust kit
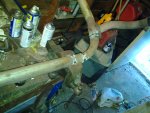
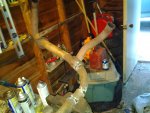
I managed to get it to line up before I tacked it into position then removed it from the car to weld it solid. I setup the next section of exhuast with a flare so I can just slide them together and clamp it. no muffler yet but soon.
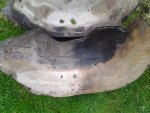
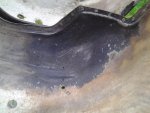
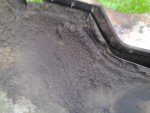
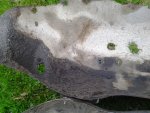
and lastly these pics are of the cleanup work i've been doing on my inner fenders. you will see the huge difference between cleaned and not. a little elbow grease can go a long way.
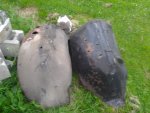
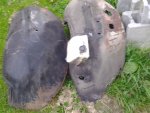
this is the old manifold sitting beside the new one.

these two pics are my patchwork exhaust i'm going to be running until I can afford a $600 TTI mopar exhaust kit


I managed to get it to line up before I tacked it into position then removed it from the car to weld it solid. I setup the next section of exhuast with a flare so I can just slide them together and clamp it. no muffler yet but soon.
and lastly these pics are of the cleanup work i've been doing on my inner fenders. you will see the huge difference between cleaned and not. a little elbow grease can go a long way.


