Red Green Jr
Member
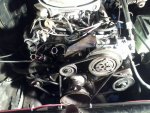
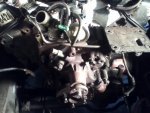
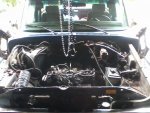
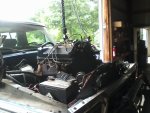
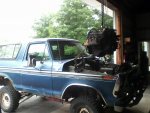
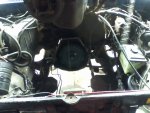
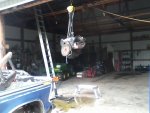
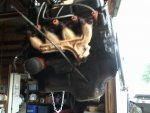
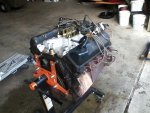
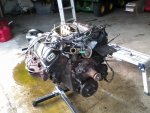
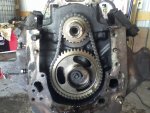
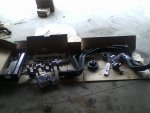
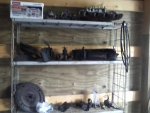
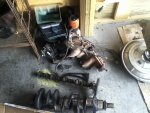
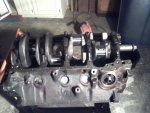
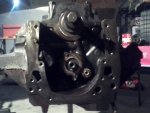
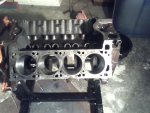
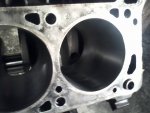
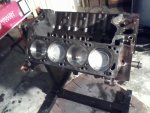
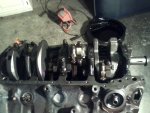
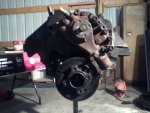
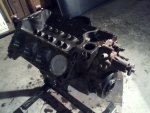
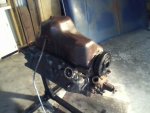
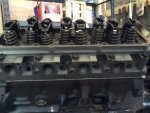
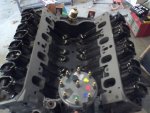
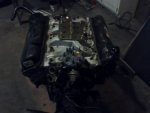
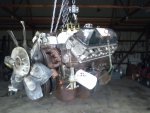
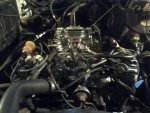
Well, I did it. I rebuilt my 400M this summer at my cabin. I just thought id share some pics and info.
First off, i would have had no chance at this project without this book:
http://www.amazon.co...s/dp/0895860368
if you are planning a project like this for the first time, be sure to get a book like that
I will just cover the highlights of the project for now, if you have specific questions feel free to ask
Basic Steps:
-I just started by stripping the block as much as i could, labeling and disconnecting all wires and vacuum lines (about 4 wires and 5 hoses)
-while lifting the engine out, follow the transmission with a jack until it disconnects from the engine,
-place a rod between the frame rails to support the transmission
-most of the work is simple unbolting, cleaning, and labeling
the biggest challenge i ran into was the cam bearings. a special driver tool is needed for removal and installation because each of the five bearings is a different size. i found a used tool on craigslist for $120. but the real problem comes in when installing the bearings. without immense precision, the bearings will be out of alignment with each other. large shops have the equipment to align bore the entire block, most of us dont. I did figure out a neat trick to do a cheap easy align bore of your own, if your willing to try it, more on that later.
for the most part, its a basic engine, and easily rebuilt if given enough time
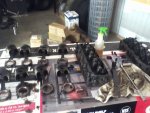
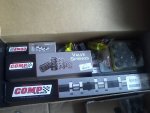
Also, if it helps, ill try to give my complete parts list, i had to get a lot more parts/tools than i thought for this build, so try to plan ahead
-along with the attached pdfs, i had to get:
-Cylinder Hone, plus two sets of coarse stones (the stones wear down fast)
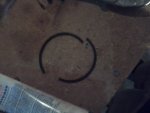
-an extra piston ring after i broke one (dont pull them too hard)
-and i did get the performance moly rings from oreilly's, not economy like it says
-engine assembly **** (very important)
-liquid gasket
-a few misc taps to chase threads
-piston ring compressor
-an extra piston after i screwed up pressing it onto the connecting rod
-tons of WD-40 and sodium hydroxide solvent
*heres the backwoods way to align bore your cam bearings,
so after i installed my new cam bearings, i tried putting in the new camshaft only to have it get stuck halfway
i tried the old school blueing and scraping for hours to no effect, so i figured out my own way
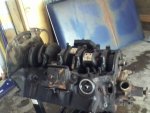
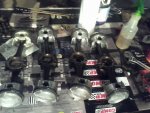
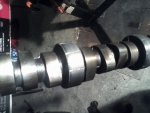
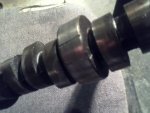
-if you notice two pictures below of a camshaft with grooves cut in it
-this is my stock camshaft, which of course has the same size journals as my new one
-so i cut a few grooves in each journal with a grinder to create a makeshift reamer
-i slide the modified camshaft into the block with the misaligned bearings, gave it a few turns, then slide it out
-my new camshaft slid in without a problem
O\'Reilly Auto Parts.pdf
Summit Racing.pdf


Last edited by a moderator:
